
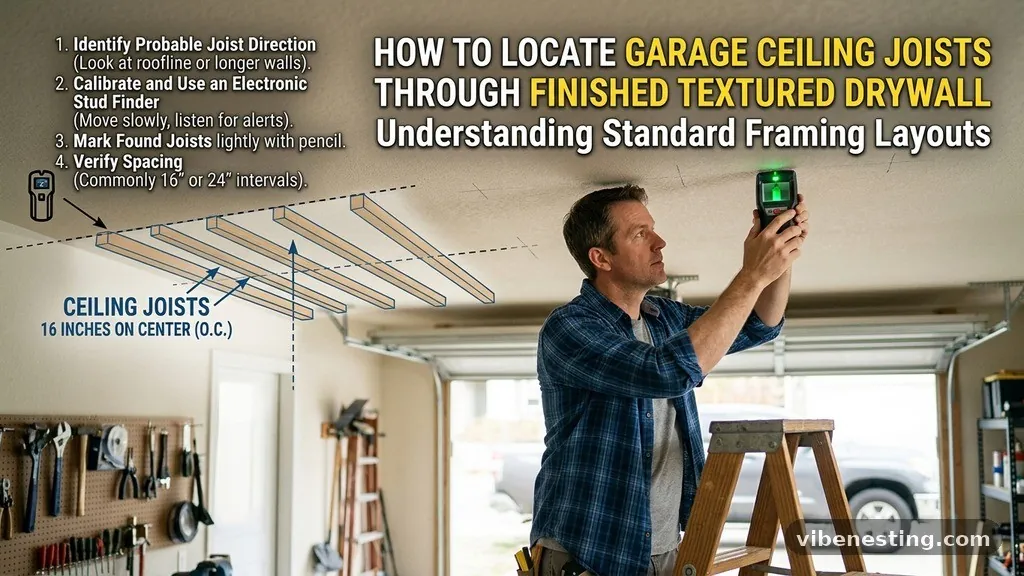
How to Locate Garage Ceiling Joists Through Finished Textured Drywall
Locating garage ceiling joists through finished textured drywall can be a frustrating task for any homeowner planning to install overhead storage or heavy lighting. When the surface is bumpy or uneven, standard tools often struggle to provide a clear reading, leaving you guessing where the solid framing actually sits. Understanding the layout of your home’s structure and selecting the right detection method will save you hours of trial and error.
By applying a few proven techniques, you can confidently identify the hidden wood framing without causing unnecessary damage to your ceiling finish. This approach ensures your project is secure, safe, and professional in its execution.
Understanding Standard Framing Layouts
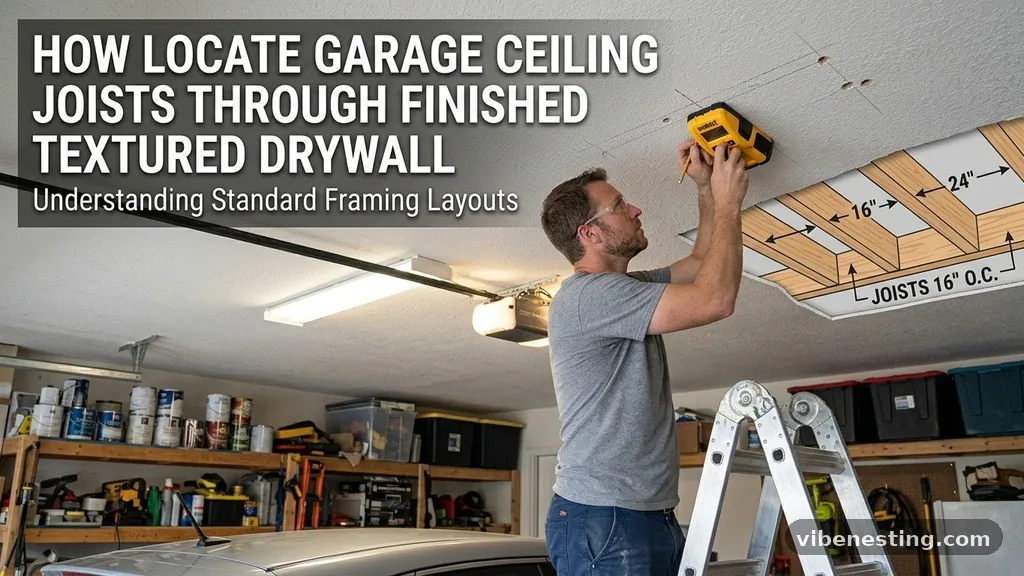
Most residential garages are built with structural framing that follows predictable patterns. Understanding these patterns is the first step in locating garage ceiling joists through finished textured drywall. In the vast majority of cases, joists are spaced at specific intervals to support the weight of the roof or the floor above.
Common spacing for these structural members is either 16 inches or 24 inches on center. By measuring from a known wall, you can often predict where the next joist should be located. This mathematical approach works well even if you cannot see the surface clearly due to heavy texture.
Always keep in mind that garages may deviate from standard interior room framing. Because garages are often considered utility spaces, builders might use different spacing or oriented the wood members differently depending on the roof truss design. Identifying the direction of the joists is often as simple as looking at the orientation of the rafters in the attic, if access is available.
Using Magnetic Detection Tools
Magnetic stud finders are arguably the most reliable tools when dealing with textured surfaces. Unlike electronic sensors that struggle with the uneven topography of “popcorn” or heavy knockdown textures, magnets rely on physics to find the fasteners. These tools detect the metal screws or nails used to secure the drywall to the wood framing.
Because the drywall is pressed tightly against the joist, the fasteners are generally just beneath the surface. When you pass a strong neodymium magnet over the area, it will pull toward the steel head of the fastener. This provides a very precise location that is rarely affected by the texture of the ceiling.
You can purchase specialized magnetic finders that are designed to swing or pivot when they encounter a metal fastener. These are particularly effective in garages where the drywall may be thicker than the standard half-inch found in living spaces. If you don’t have a commercial tool, a high-strength craft magnet on a string can often perform the same function.
Electronic Stud Finder Techniques
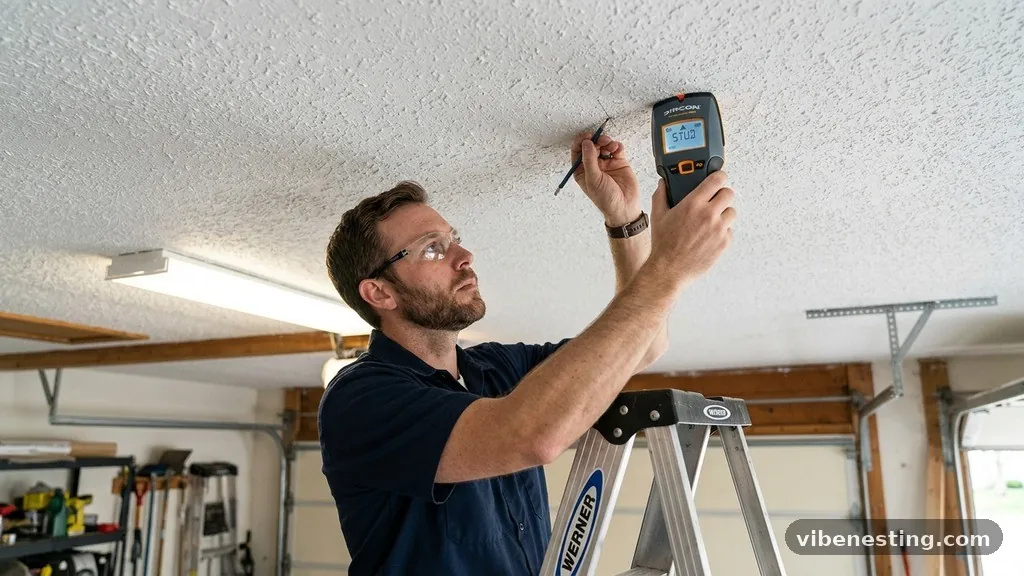
Electronic sensors operate by detecting changes in the density of the material behind the wall. When using these on textured drywall, the primary challenge is the air gap created by the texture itself. The sensor must be able to maintain consistent contact with the surface to provide an accurate reading.
To improve your results, try to press the device firmly against the ceiling. If the texture is extremely deep, you might consider placing a thin piece of smooth cardboard between the sensor and the drywall. This creates a flat plane that allows the sensor to calibrate more accurately without picking up “noise” from the bumps.
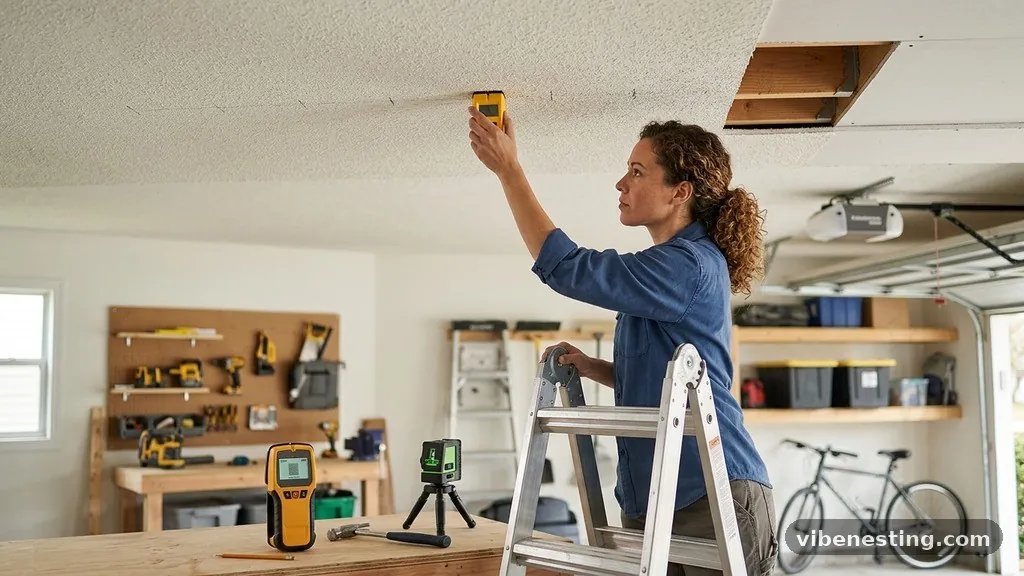
Always calibrate your electronic tool in a neutral area before scanning the ceiling. Move the device slowly across the surface, as rapid movement can cause false positives in the internal sensor. If the tool indicates a wide area of density, move it in a cross-pattern to narrow down the exact center of the framing member.
The “Probe” Method for Verification
Sometimes, despite your best efforts, you might still be unsure about the exact center of a joist. A small finishing nail or a thin drill bit can serve as a “probe” to verify your findings. This is a non-destructive way to confirm the presence of wood before you commit to drilling large holes for heavy-duty bolts or anchors.
Choose a spot that you believe is the center of the joist based on your previous measurements. Gently push the thin nail through the drywall until you feel resistance. If you hit solid wood immediately, you have successfully located the member.
If the nail passes through empty space or hits something soft, you are likely between joists. Patching a tiny nail hole is incredibly easy with a dab of spackle, making this a low-risk strategy. This physical confirmation is the gold standard for heavy-duty installations like ceiling-mounted storage racks.
Visual Clues in the Garage
You do not always need a high-tech tool to solve the problem of locating garage ceiling joists through finished textured drywall. Often, the construction of the garage provides subtle visual clues. Take a close look at the perimeter of your ceiling where it meets the wall.
Sometimes, you can see the faint indentations of nail heads or the seams where the drywall sheets meet. These seams are almost always taped and mudded directly over a joist. If you can identify the line where two sheets of drywall join, you have likely found the center of a framing member.
Also, look for existing light fixtures, attic access hatches, or garage door opener mounts. These items are typically screwed directly into the framing. You can use these known points as a starting reference to measure out 16 or 24 inches to find the surrounding joists.
Comparing Detection Methods
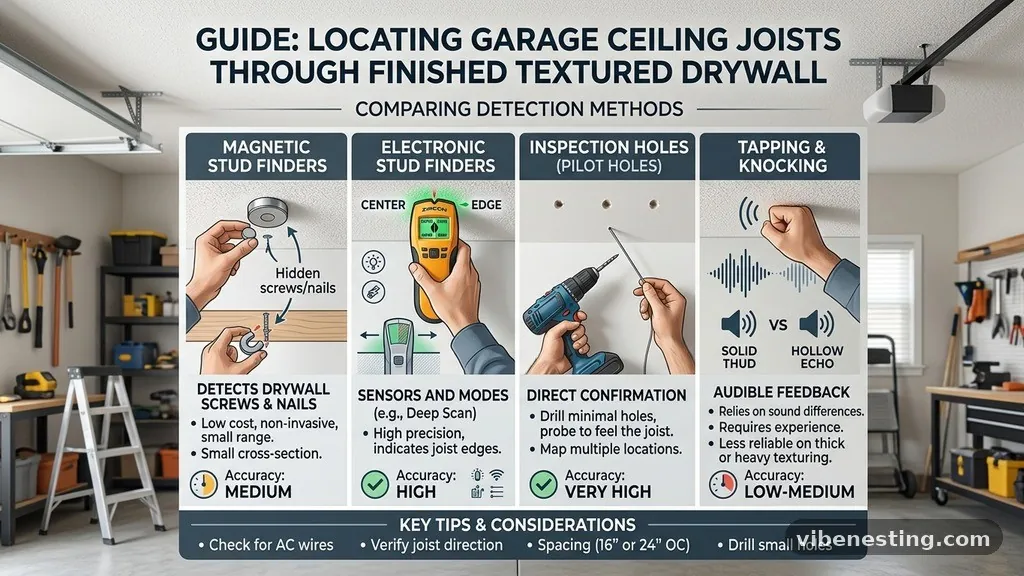
Choosing the right method depends on your budget and the specific conditions of your ceiling. The following table compares the effectiveness of common techniques used for finding concealed framing.
| Method | Accuracy | Best For |
|---|---|---|
| Magnetic Finder | High | Finding fasteners in textured ceilings |
| Electronic Sensor | Medium | Quick, general scanning |
| Visual Inspection | Variable | Identifying seams and existing hardware |
| Physical Probing | Absolute | Final verification before drilling |
Each of these methods has a specific use case. Professionals often combine them, using a visual scan first, followed by a magnetic tool, and finishing with a small probe to ensure total accuracy before installing heavy equipment.
Safety Considerations During Installation
Safety is paramount when working overhead in a garage. Once you have successfully located the joists, ensure that the hardware you choose is rated for the weight you intend to hang. A common mistake is using drywall anchors for heavy storage, which will inevitably fail over time.
Always drive your mounting bolts or lag screws directly into the center of the wood. If you drill too close to the edge of the joist, the wood may split, compromising the integrity of the entire mount. Use a pilot hole that is slightly smaller than the diameter of your fastener to prevent splitting.
For more information on structural safety and load-bearing requirements, visit the APA – The Engineered Wood Association for guidelines on proper wood framing and connection techniques. Following these professional standards ensures that your ceiling-mounted items remain secure for years.
Handling Different Ceiling Materials
While most garages use standard drywall, some may have older plaster or lath construction. Plaster is significantly denser and thicker than drywall, which can render standard electronic sensors useless. In these cases, you must rely on magnetic tools to find the lath nails or use a small probe to manually locate the joists.
If your garage has metal furring strips instead of wood, the process changes entirely. Metal framing requires specialized screws and anchors, and magnetic finders will react to the entire length of the strip. You will need to be much more precise in your drilling to ensure you don’t miss the narrow metal channel.
Consider the age of the home when determining your approach. Older garages may have irregular framing that does not follow modern 16-inch or 24-inch spacing rules. In these situations, measuring from a known wall is the only reliable way to map out the entire ceiling.
Essential Tools for the Job
To make the process of locating garage ceiling joists through finished textured drywall easier, keep a small kit ready. You do not need expensive equipment, but having the right items makes a significant difference.
- A strong, handheld neodymium magnet for finding hidden fasteners.
- A reliable electronic stud sensor with a deep-scan mode.
- A quality tape measure for consistent layout measurements.
- A fine-point pencil or masking tape to mark your findings clearly.
- A thin finishing nail or small drill bit for final verification.
- A step ladder that provides a stable, comfortable working height.
Having these items on hand allows you to switch strategies quickly if one method fails to provide a clear result. Don’t be afraid to use multiple tools to verify your findings, especially if you are hanging something heavy.
Troubleshooting Common Issues
If you find that your sensor is giving you “ghost” readings, move away from the area and recalibrate. Sometimes, electrical wires running behind the drywall can trigger electronic sensors, leading you to believe there is a stud where there is only a wire. Always be cautious when drilling near outlets or light fixtures.
If you are struggling to find any consistency, try measuring from the opposite wall. Sometimes the joist layout starts from one side of the building and runs to the other. If the measurements don’t align, there might be a “header” or a doubled-up joist near the garage door opening that throws off the spacing.
Don’t panic if you drill a hole and find nothing but empty space. Simply patch the hole and move on to the next potential spot. Using a small piece of painter’s tape to mark your progress can help you visualize the pattern and make it easier to see where you have already scanned.
Frequently Asked Questions
How do I know which direction the joists run?
The joists typically run perpendicular to the longest wall of the garage to provide the shortest span for the wood. You can often verify this by looking at the attic space or checking the orientation of the rafters if the garage has an exposed roof structure.
Will a basic stud finder work through heavy texture?
Most basic electronic stud finders will struggle with heavy texture because they cannot maintain the necessary contact with the surface. A magnetic stud finder is almost always the superior choice for textured ceilings because it ignores the bumps and focuses on the metal fasteners.
What if I hit a wire while drilling?
If you suspect you have hit a wire or if your drill suddenly stops or changes sound, stop immediately. Shut off the power to the garage at the main breaker before investigating the hole. If you have any doubt, use a non-contact voltage tester to check the area before finalizing your installation.
Can I use a magnet to find wood?
A magnet does not find the wood itself; it finds the metal screws or nails that hold the drywall to the wood. By locating these fasteners, you are effectively locating the center line of the joist, which is the strongest part for mounting your hardware.
How deep can a stud finder reach?
Most consumer-grade stud finders can detect density through about 0.75 to 1.5 inches of material. If your drywall is double-layered for fire safety, standard sensors may fail, and you will need to rely on magnetic detection or manual probing to find the fasteners.
Final Thoughts
Locating garage ceiling joists through finished textured drywall is a skill that blends observation, the right tools, and a bit of patience. By focusing on magnetic detection and verifying your findings with physical probes, you eliminate the guesswork that often leads to damaged surfaces. Remember to prioritize safety by confirming your anchor points and being mindful of electrical hazards hidden within the ceiling.
Once you have mapped out the framing, you can confidently proceed with your storage or lighting projects. With these techniques in your toolkit, you will find that even the most difficult textured ceilings become manageable, allowing you to optimize your garage space effectively. Consistent practice with these methods will make future home improvement tasks significantly easier to handle.